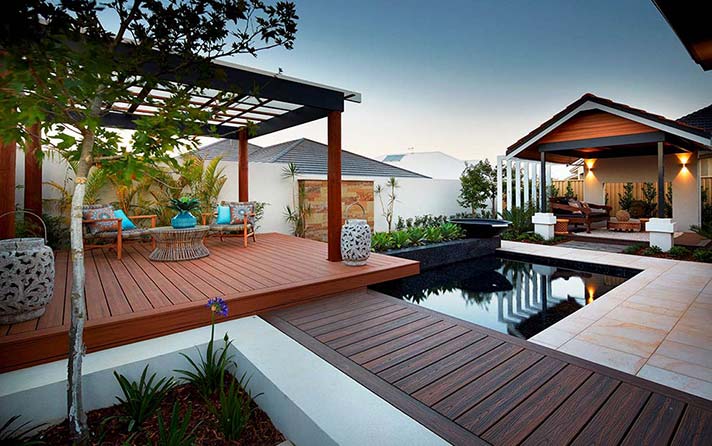
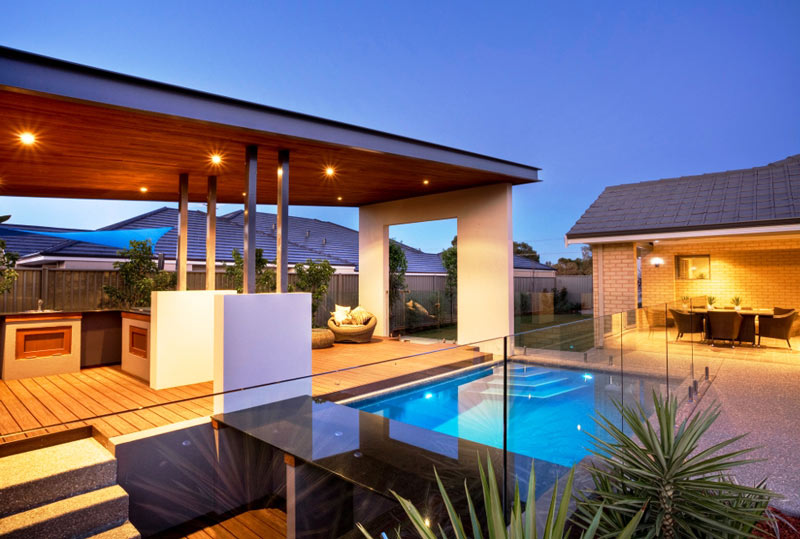
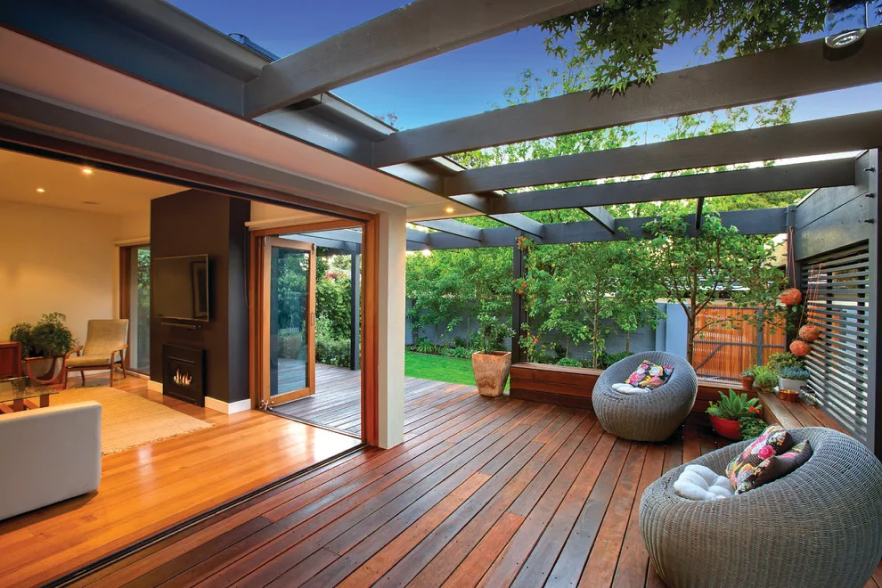
Decks are more than just a functional addition to any house where you can spend summer afternoons with friends and family; they are also a great way to increase the value of your home.
Once the decision has been made to install a deck for your home or commercial property, there are a few choices available regarding the material you use to build your deck. As technology advances, more and more decking options, especially planet-friendly alternatives, become available to the Australian market; composite decking, timber decking are all great contenders.
Composite decking is a combination of recycled wood and plastic, making it non-toxic, durable, and water resistant. The combination of wood and plastic gives you the best of both worlds – the durability of plastic and the aesthetic appeal of timber – to create the highest quality decking product that is both functional and long-lasting.
Undeniable advantages of composite
As with anything, there are both advantages and disadvantages to composite decking. Using composite material often costs more up front, yet long term costs are lower than with timber, as maintenance and installation costs can be far less than other decking options.
Compared to wood, waterproof composite stands up to the elements much better, needing little more than regular cleaning to keep in tip-top condition. With a wood deck, splinters are a concern, as is making sure it is regularly treated. A composite deck eliminates both of those concerns, along with the often-unavoidable warping of wood planks.
As with any outdoor installation, termites and elemental damages are something to consider – with composite decking; you can say goodbye to these issues; composite decking is designed to combat the main issues that timbers are susceptible to. In other words, you can “get the beautiful timber look, without the timber hassle”.

Installation process and considerations
After you decide if you will be installing the deck or if you will be hiring a deck installer or contractor, it’s time to get building.
The elements involved in a deck building project can be broken down into five easy steps. These include planning, measuring, framing, securing and laying.
1. Plan & Design
The first step to building any deck is to figure out how much material is needed, where the deck is going, and gathering all tools and materials required. Something to consider is to choose darker composite material will retain heat and get hotter; if you like to be barefoot or if your deck will be under direct sunlight, choosing a lighter colour or mixture of colours will make the deck more enjoyable.
2. Measure & Pour
Measure the area where the deck will be and begin setting a strong foundation. Use a post hole digger to dig the holes needed for the deck footings. Pour concrete in and allow it to cure for at least 24 hours.
3. Frame
While waiting, install the ledger board to the house to secure the deck to the house. Once the concrete has cured, attach post anchors the stirrups to the deck footings. Alternatively, you can cast them into concrete as you go. The KlevaKlip adjustable bearer supports are perfect for fine-tuning and make the deck perfectly level once the concrete has cured. Then attach posts or bearers directly to the stirrups. Frame your deck out, adding concrete footings, depending on the size of the deck.
On both the ledger board and end beam, install joist hangers at the desired intervals, approximately every 15.24 cm. Cut the joist boards to fit and install them by seating the boards into the hangers and securing with nails. Ensure you are plumbing often, checking the level and adjusting as necessary.
4. Secure
Ensure that your deck is levelled; this should be levelled from the beginning by using consistent sizes for your subframes. Using a chalk line can help you find the high spots to grind down.
Seal any joints or areas at risk of high moisture with a compound. Using joist protection like GTape over the top edge of the joists can also help protect the deck from long term rot – choose a dark tape colour to avoid drawing attention away from your decking.
5. Lay
Once your foundation is in place and stable, it’s time to lay down the deck boards. Use the applicable manufactures proprietary fixing system. Different brands of the composite have different fixing methods. From top fixing screws that ‘disappear’ through the top surface, to ‘biscuit type’ or strip click-in strips both of which produce secret or concealed fixing.
Butt joints are best avoided with composite decking because of the significant thermal movement that occurs daily. Use full-length boards with feature or breaker boards to ‘hide’ the necessary expansion joints. The best time to set this up correctly is in the planning stage where you can, if possible, design the deck to be the same size as the available boards. Helping save a massive amount of time and material wastage and in turn, save money.
Optional: Installing Add-ons
The last step is to add deck balustrades, lighting or stairs. Start balustrade posts 6 centimetres away from the house to prevent moisture build-up.
What’s next?
DIY composite deck installation is easy enough for most people to do, provided that they’ve got the right tools. From start to finish, installing a composite deck will only take a couple of days. If you’d prefer to get help building your deck, hire a deck builder and make sure to use a reputable company that is experienced in composite decking.
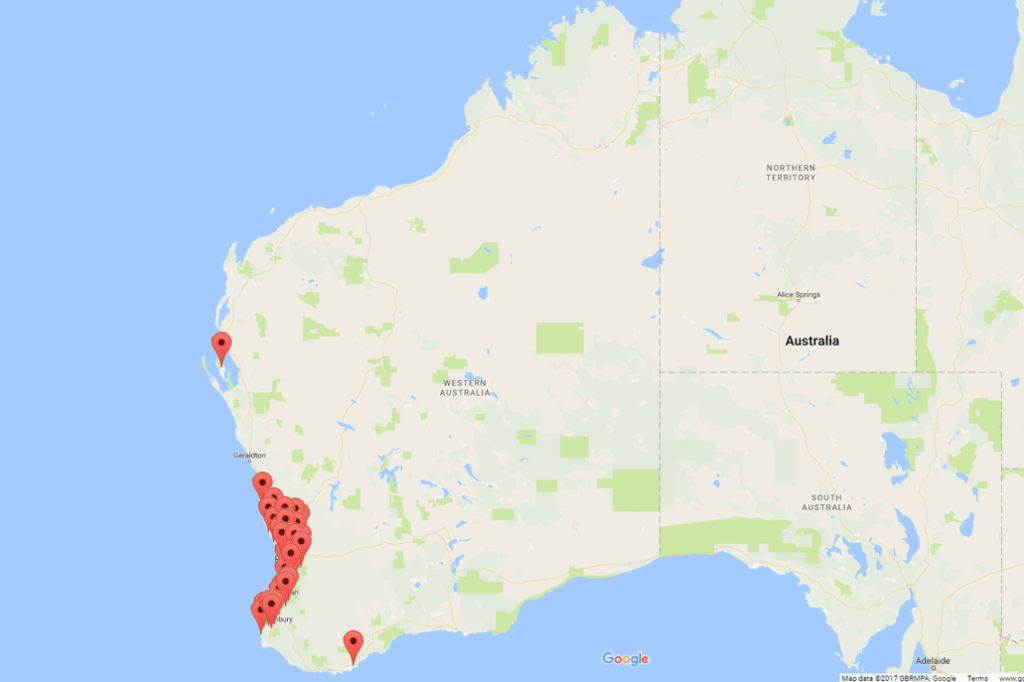
Ready to choose your decking? Have a look at our composite decking in Perth now.


