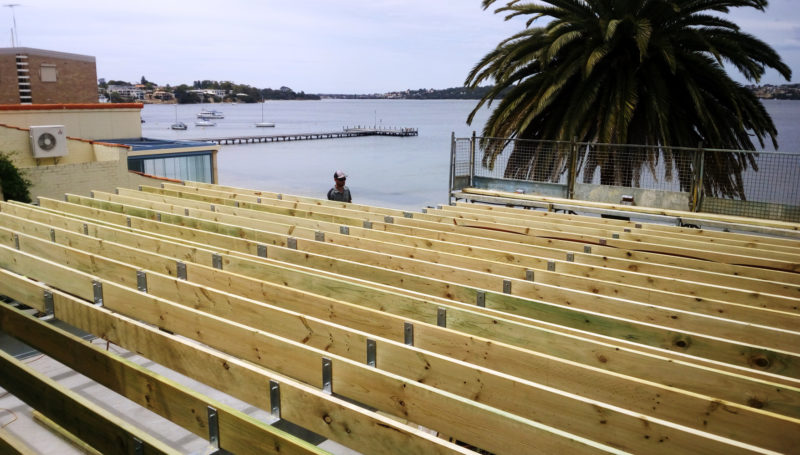
A partly or fully raised deck is the perfect solution for those difficult to use outdoor spaces. The design and construction of the framework of a deck is a major factor in its longevity and stability.
That’s why we have put together this handy guide to deck framing, as a jumping-off point for learning how to build a deck frame.
So if you have the confidence to DIY or you would rather get a professional decker to do it, these guidelines will let you know what to expect and how to get the most out of your decking.
Today we are going to look at building the subframe of the deck which can be broadly split into three sections – the ledger board, joists and bearers, and the decking posts and/or stirrups.
Remember when building a deck be sure to use structural treated pine H3 and above.
Installing decking posts
Installing decking posts is the first part of successfully framing your deck. Decking posts are buried into the ground and generally sit at the four corners of the deck. If the deck is attached to the house it may only require two decking posts.
Measure and mark out the deck area using pegs and string. Then measure from post-to-post; if you intend to have a square deck, make sure your measurements come out the same on both sides. Remove all vegetation and earth in the marked area to the required specification.
Once the area has been dug, place a post into position in the corner of the frame. Measure and mark out the required area and remove the soil to specification.
Insert the decking posts and add the postcrete – create a gentle slope on the four sides of the post so that rainwater will run off it, thus preserving the wood for longer.
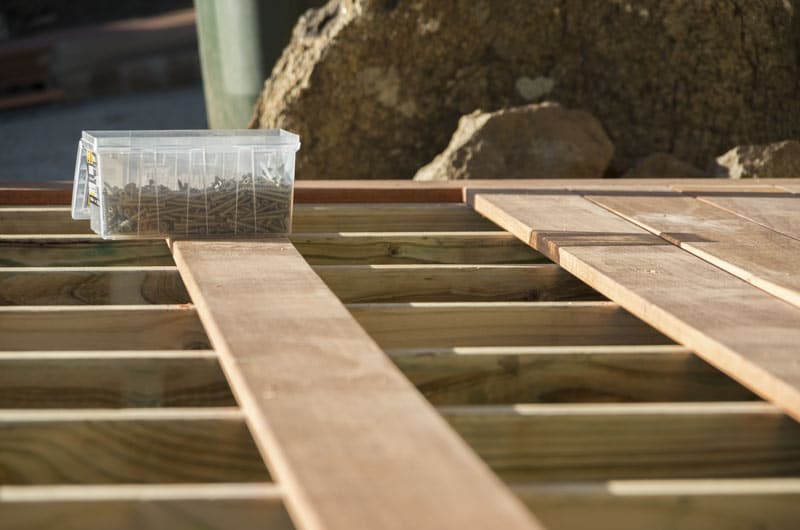
What is the difference between a joist and a beam?
Joists are the repeated horizontal pieces of wood that make up the deck frame. The joists’ size is dependent on the number of footings and beams that are installed.
Joists have specific spacing requirements. “On Centre” is the layout term for joists – this is the centre-to-centre measurement from one joist to another. Most decks use 500mm or 600mm on centre spacing for joints.
The beam is similar to the ledger board, but it is not attached to the house – these are the main load-bearing elements of your deck. It’s responsible for supporting the weight of the joists and other building elements.
Fitting the ledger board
A ledger is a single board of wood what attaches the decking to your house. It must be designed to withstand both gravity and lateral loads with each decking having its own unique requirements.
In the past decking didn’t have fixed requirements – you would need to hire an engineer to design the decking with consideration taken to how much load it could take.
Nowadays most people rely on prescriptive tables that provide you with the required dimensions, the ideal location of lag screws or through-bolts and the minimum and maximum distance between the two rows of fasteners.

What’s next?
Framing a deck is not the easiest task. There are important building regulations and standards to adhere to and, depending on the size of your deck, you may need to seek planning permission. If you’d prefer not to go it alone why not get in touch with Perth’s top decking experts for support on all things decking, from decking material selection to flawless installation.
